

Sourdough Waffles or Pancakes
Makes 1 dozen 8” waffles or 2 dozen 4” pancakes
The night before:
1 cup sourdough starter, directly from the fridge, stirred but unfed
2 cups Unbleached
Flour (I use bread flour as that is what we keep around
2 tablespoons sugar (or sugar substitute, honey, etc)
2 cups non-dairy milk substitute with
2T vinegar or lemon juice (or buttermilk for dairy)
Mix all of this in a glass or non-metallic bowl and let stand overnight
Before you put your starter back in the fridge, remember to feed it the total amount of what you just removed – for this recipe that would be ½ cup water and ½ cup flour
In the morning:
In a big bowl add:
All of the overnight sponge
2
large eggs (checked and beaten lightly with a fork)
1/4
cup vegetable oil (or melted butter for dairy waffles or pancakes)
3/4
teaspoon salt
1
teaspoon baking soda
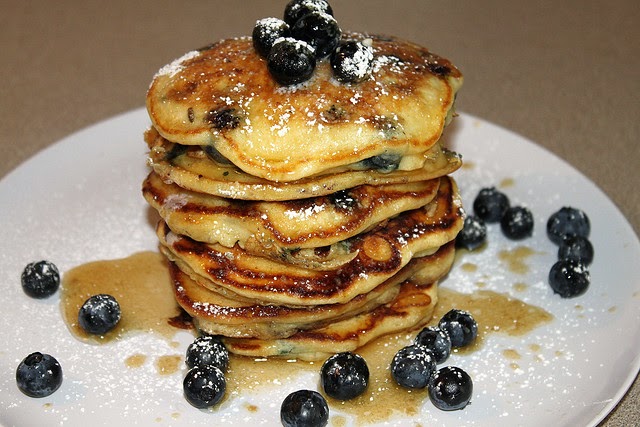
Fruit like blueberries, chopped strawberries, bananas, chopped peaches, etc (optional)
Heat your waffle iron or pancake griddle to medium
high.Fruit like blueberries, chopped strawberries, bananas, chopped peaches, etc (optional)
Stir above ingredients together. Do not over mix the batter. The batter will begin to foam or bubble. This is because the acid in the starter sponge from the night before will react with the baking soda (a base).
GENTLY fold in the optional fruit.
When you can put a few droplets of water on either cooking surface and the water skittles about, you know the temperature is correct. Follow manufacturer’s instructions if you are making waffles (the light turns on if they are done, am I correct?)
If you are making PANCAKES, pour some batter into a cup with a spout (we make parve pancakes) I use a 2 cup glass Pyrex measuring cup. This helps so the batter goes on the pan and not on the stove.
If you are making PANCAKES, watch the tops. You will see the batter on the top begin to lose it’s wet shine and when bubbles begin forming and rising and breaking on the top, it is time to turn
them over. Use a spatula and flip them one at a time. I make 4” pancakes as they are easier to flip.
Cook on the other side until the bottoms are done.
Serve with copious amounts of fruit syrup, maple syrup or honey.
Enjoy!
K (P) or dairy if you use dairy milk and butter
This recipe can be halved if you don't need as much for your family. Also, cooled waffles or pancakes can be individually wrapped, frozen and then popped in the toaster for a quick meal.


